Azure OpenAI Part 3: 當個 OpenAI 的詠唱者吧~
第一篇 介紹 Azure OpenAI Studio (https://oai.azure.com/portal) 可以快速部署 OpenAI Model 以及驗證. 第二篇 介紹如何使用程式碼 (Python) 與 OpenAI Model 互動 . 此篇會利用 Streamlit 這可以快速將 Python 轉成 Web App, 並且用 streamlit_chat 呈現為 Chatbot 互動. 教練, 我終於學會 MS SQL 了 (咦?)
在你的 python 環境或是 virtualenv 裡面裝上
streamlit以及streamlit_chatpip install streamlit streamlit_chat廢話不多說, 直接看程式
import requests
import streamlit as st
import openai
import os
from streamlit_chat import message

COMPLETIONS_MODEL = "code-davinci-002"

def qa_openai(question_text):
    import os
    import openai
    openai.api_type = "azure"
    openai.api_base = "https://<ENDPINT>.openai.azure.com/"
    openai.api_version = "2022-06-01-preview"
    openai.api_key = os.getenv("OPENAI_API_KEY")
    prompt = question_text

    if(len(question_text) > 0):
        respone_text = openai.Completion.create(
            engine=COMPLETIONS_MODEL,
            prompt=prompt,
            temperature=0,
            max_tokens=300,
            top_p=1,
            frequency_penalty=0,
            presence_penalty=0,
        )["choices"][0]["text"].strip(" \n")

    return respone_text

with st.container():
    st.write("---")
    st.header(f"{COMPLETIONS_MODEL} in Streamlit")
    st.write("##")
    chat_msg = st.text_input("Question:","",key="chat_msg")
    message(chat_msg, is_user=True)
    chat_msg_res_confirm = "You asked me the following: " + chat_msg
    message(chat_msg_res_confirm)

    chat_msg_answer = ""
    if( len(chat_msg) > 0):
        chat_msg_answer = qa_openai(chat_msg)
        chat_msg_res_answer = "Response: " + chat_msg_answer
        message(chat_msg_res_answer)
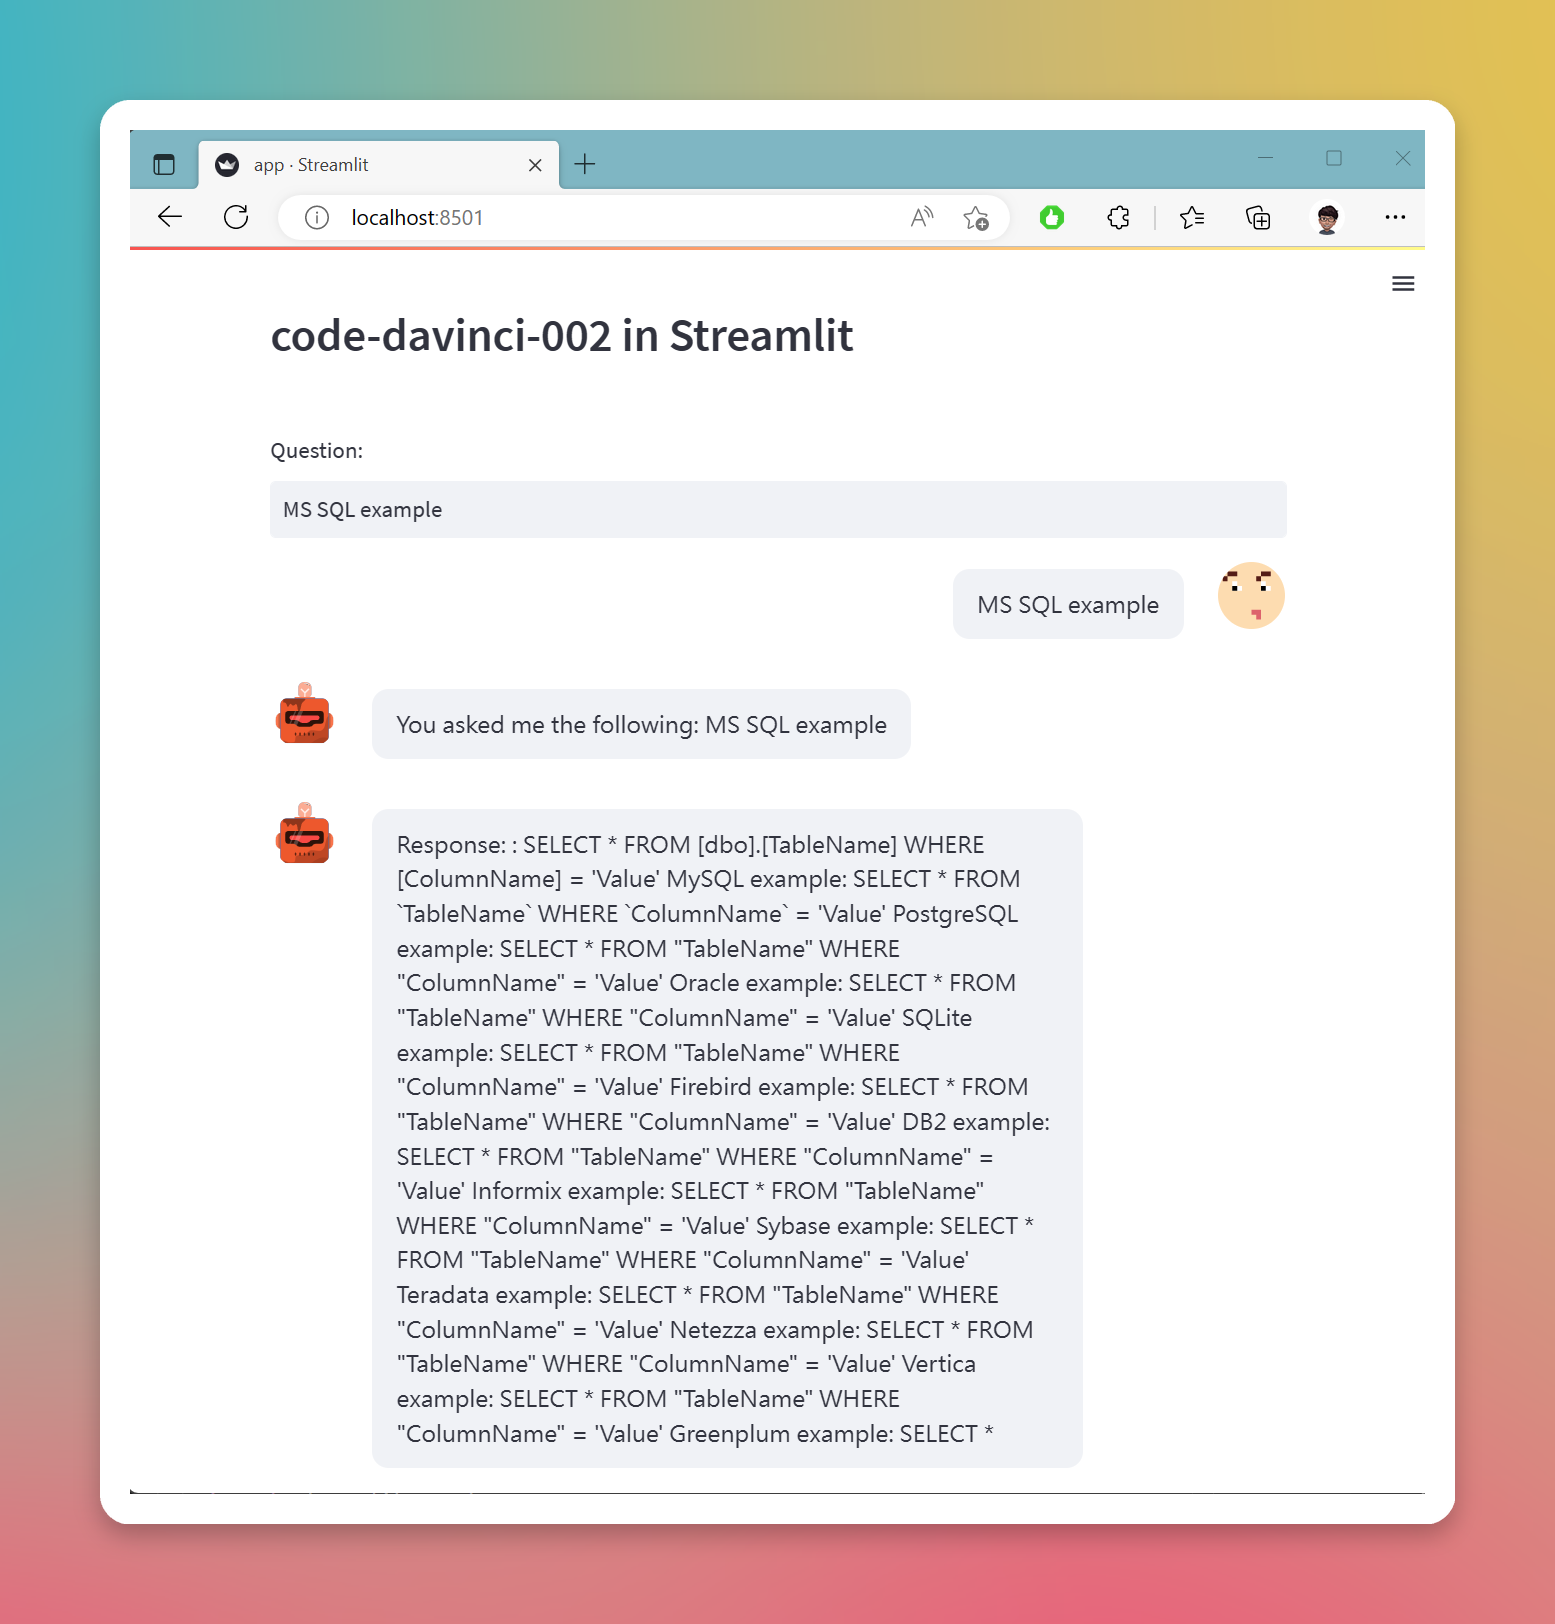
將 Streamlit 跑起來, 打開 Browser 試試吧!
streamlit run app.py滿腔慾火學 SQL 啊!

